Building a natural pond is a fascinating project, but also one where mistakes come at a high price - sometimes literally, other times through years of frustration and excessive maintenance. With over 10 years of experience and more than 150 completed projects, the Iazuri Naturale team has seen nearly every possible mistake - from ponds too small that turn into "green puddles" in summer, to ambitious builds without a single plan on paper. In this guide, we've compiled the 10 most common mistakes we encounter in ponds built without professional consultation, along with concrete solutions to avoid them.
Whether you're planning to build your pond yourself or working with a team of specialists, knowing these pitfalls will save you time, money, and a lot of headaches.
Mistake #1: Dimensions too small
One of the most common mistakes is underestimating the required dimensions. Many homeowners start with the idea "I want something small and discreet" and end up with a 1.5 x 1 metre basin that looks more like a buried washtub than a natural pond. The irony is that a smaller pond is harder to maintain, not easier.
A reduced water volume means rapid temperature fluctuations, frequent chemical imbalances, and minimal self-purification capacity. In summer, a small pond can heat up within hours to temperatures that favour algae growth, while in winter it can freeze completely, endangering fish and plants.
Recommended minimum dimensions
- Minimum surface area: 3 x 2 metres (6 m²) for a decorative pond without fish
- Minimum depth: 80 cm, ideally 1-1.2 metres if you want fish
- Recommended minimum volume: 3,000-4,000 litres for a stable ecosystem
- For koi fish: minimum 8-10 m² surface area and 1.5 metres depth
The golden rule is simple: always build bigger than you think you need. A 15-20 m² pond practically maintains itself if properly designed, while a 4 m² one requires constant attention. The cost difference between a small pond and one of optimal dimensions is often surprisingly small relative to the long-term benefits.
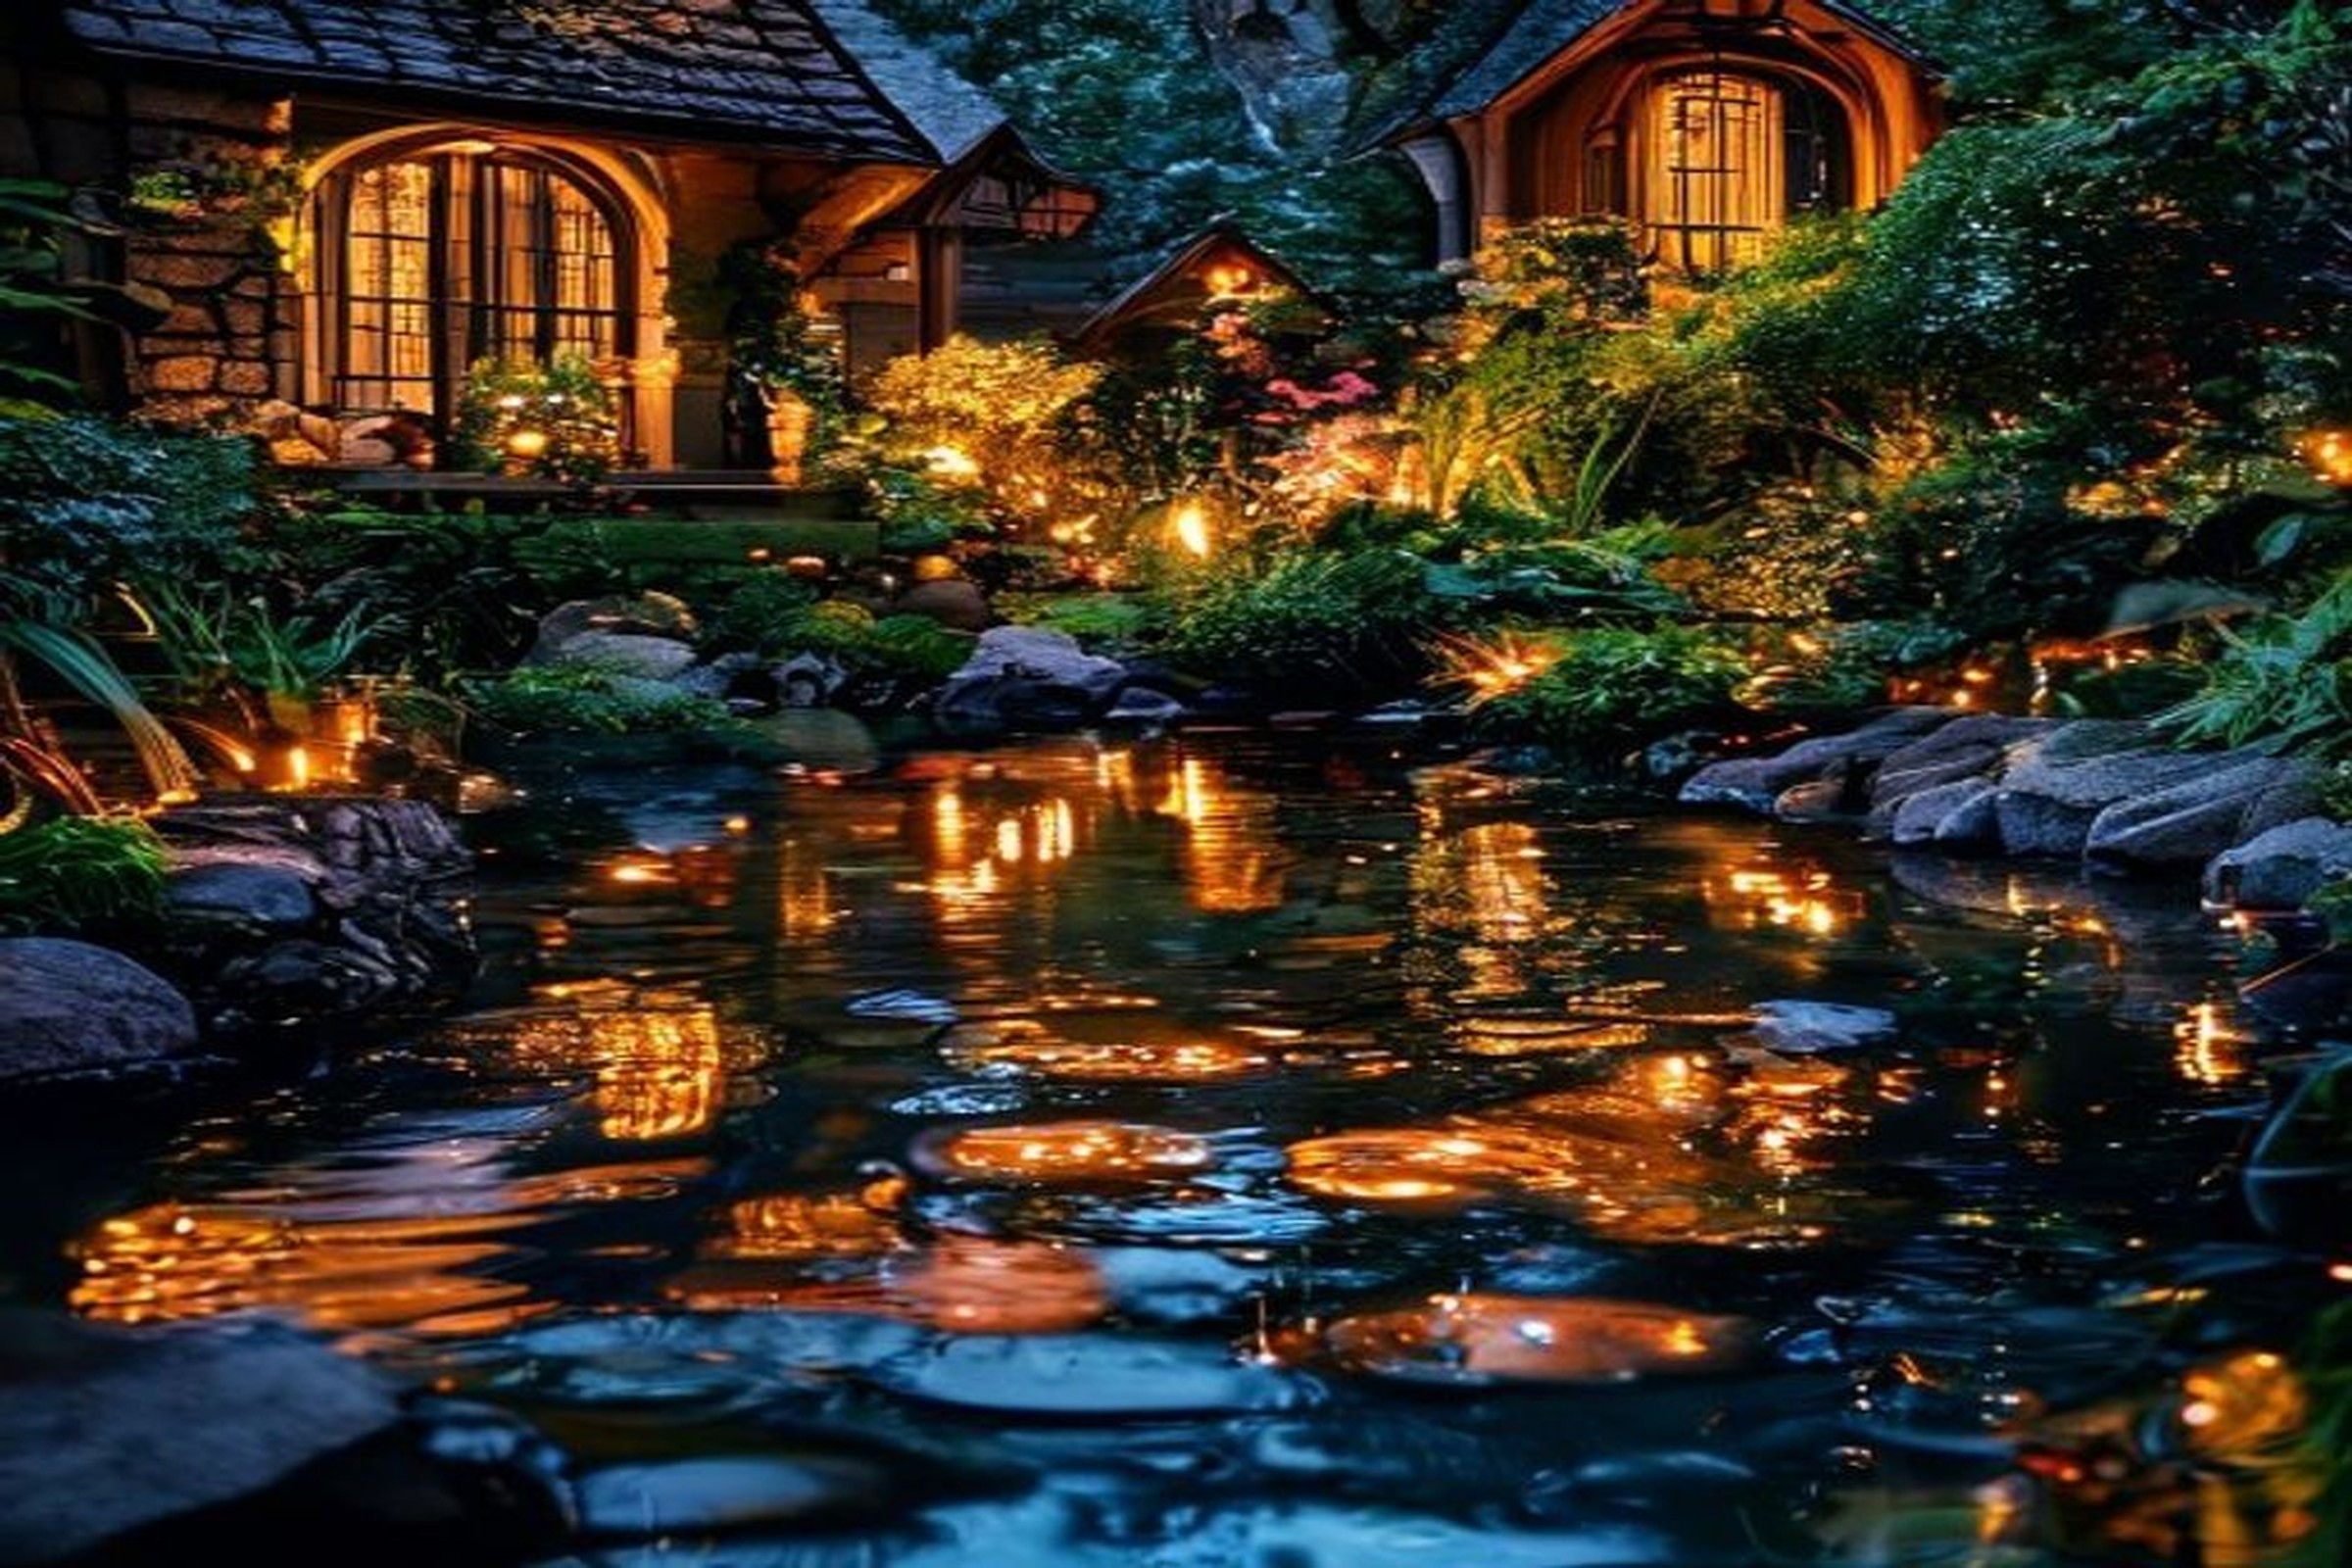
Mistake #2: Poor placement
Where you place your pond largely determines the success or failure of the project. We've seen ponds built directly under large trees, in permanently shaded areas, or at the lowest point of the garden - each of these choices creating serious long-term problems.
Common placement mistakes
- Under trees with falling leaves: Leaves that end up in the pond decompose, consume the oxygen in the water, and produce large amounts of nutrients that feed algae. In autumn, a single oak tree can fill a small pond with leaves within days.
- Permanent shade: The pond needs 5-6 hours of direct sunlight per day for aquatic plants to function as a natural filter. Total shade inhibits photosynthesis and leads to stagnant water.
- The lowest point of the terrain: Although it seems logical to place water "downhill," this means all rainwater, lawn fertilisers, and debris will drain directly into the pond. This phenomenon is called surface infiltration and is one of the main causes of eutrophication.
- Too far from the house: A pond placed 50 metres from the house will be neither visible nor easy to maintain. The long route for electrical supply (pump, filters, lighting) significantly increases costs.
The ideal placement is on ground slightly elevated above the surrounding area, 3-8 metres from the house, with partial sun exposure (morning sun, light afternoon shade), and away from trees with aggressive roots such as willows or poplars.
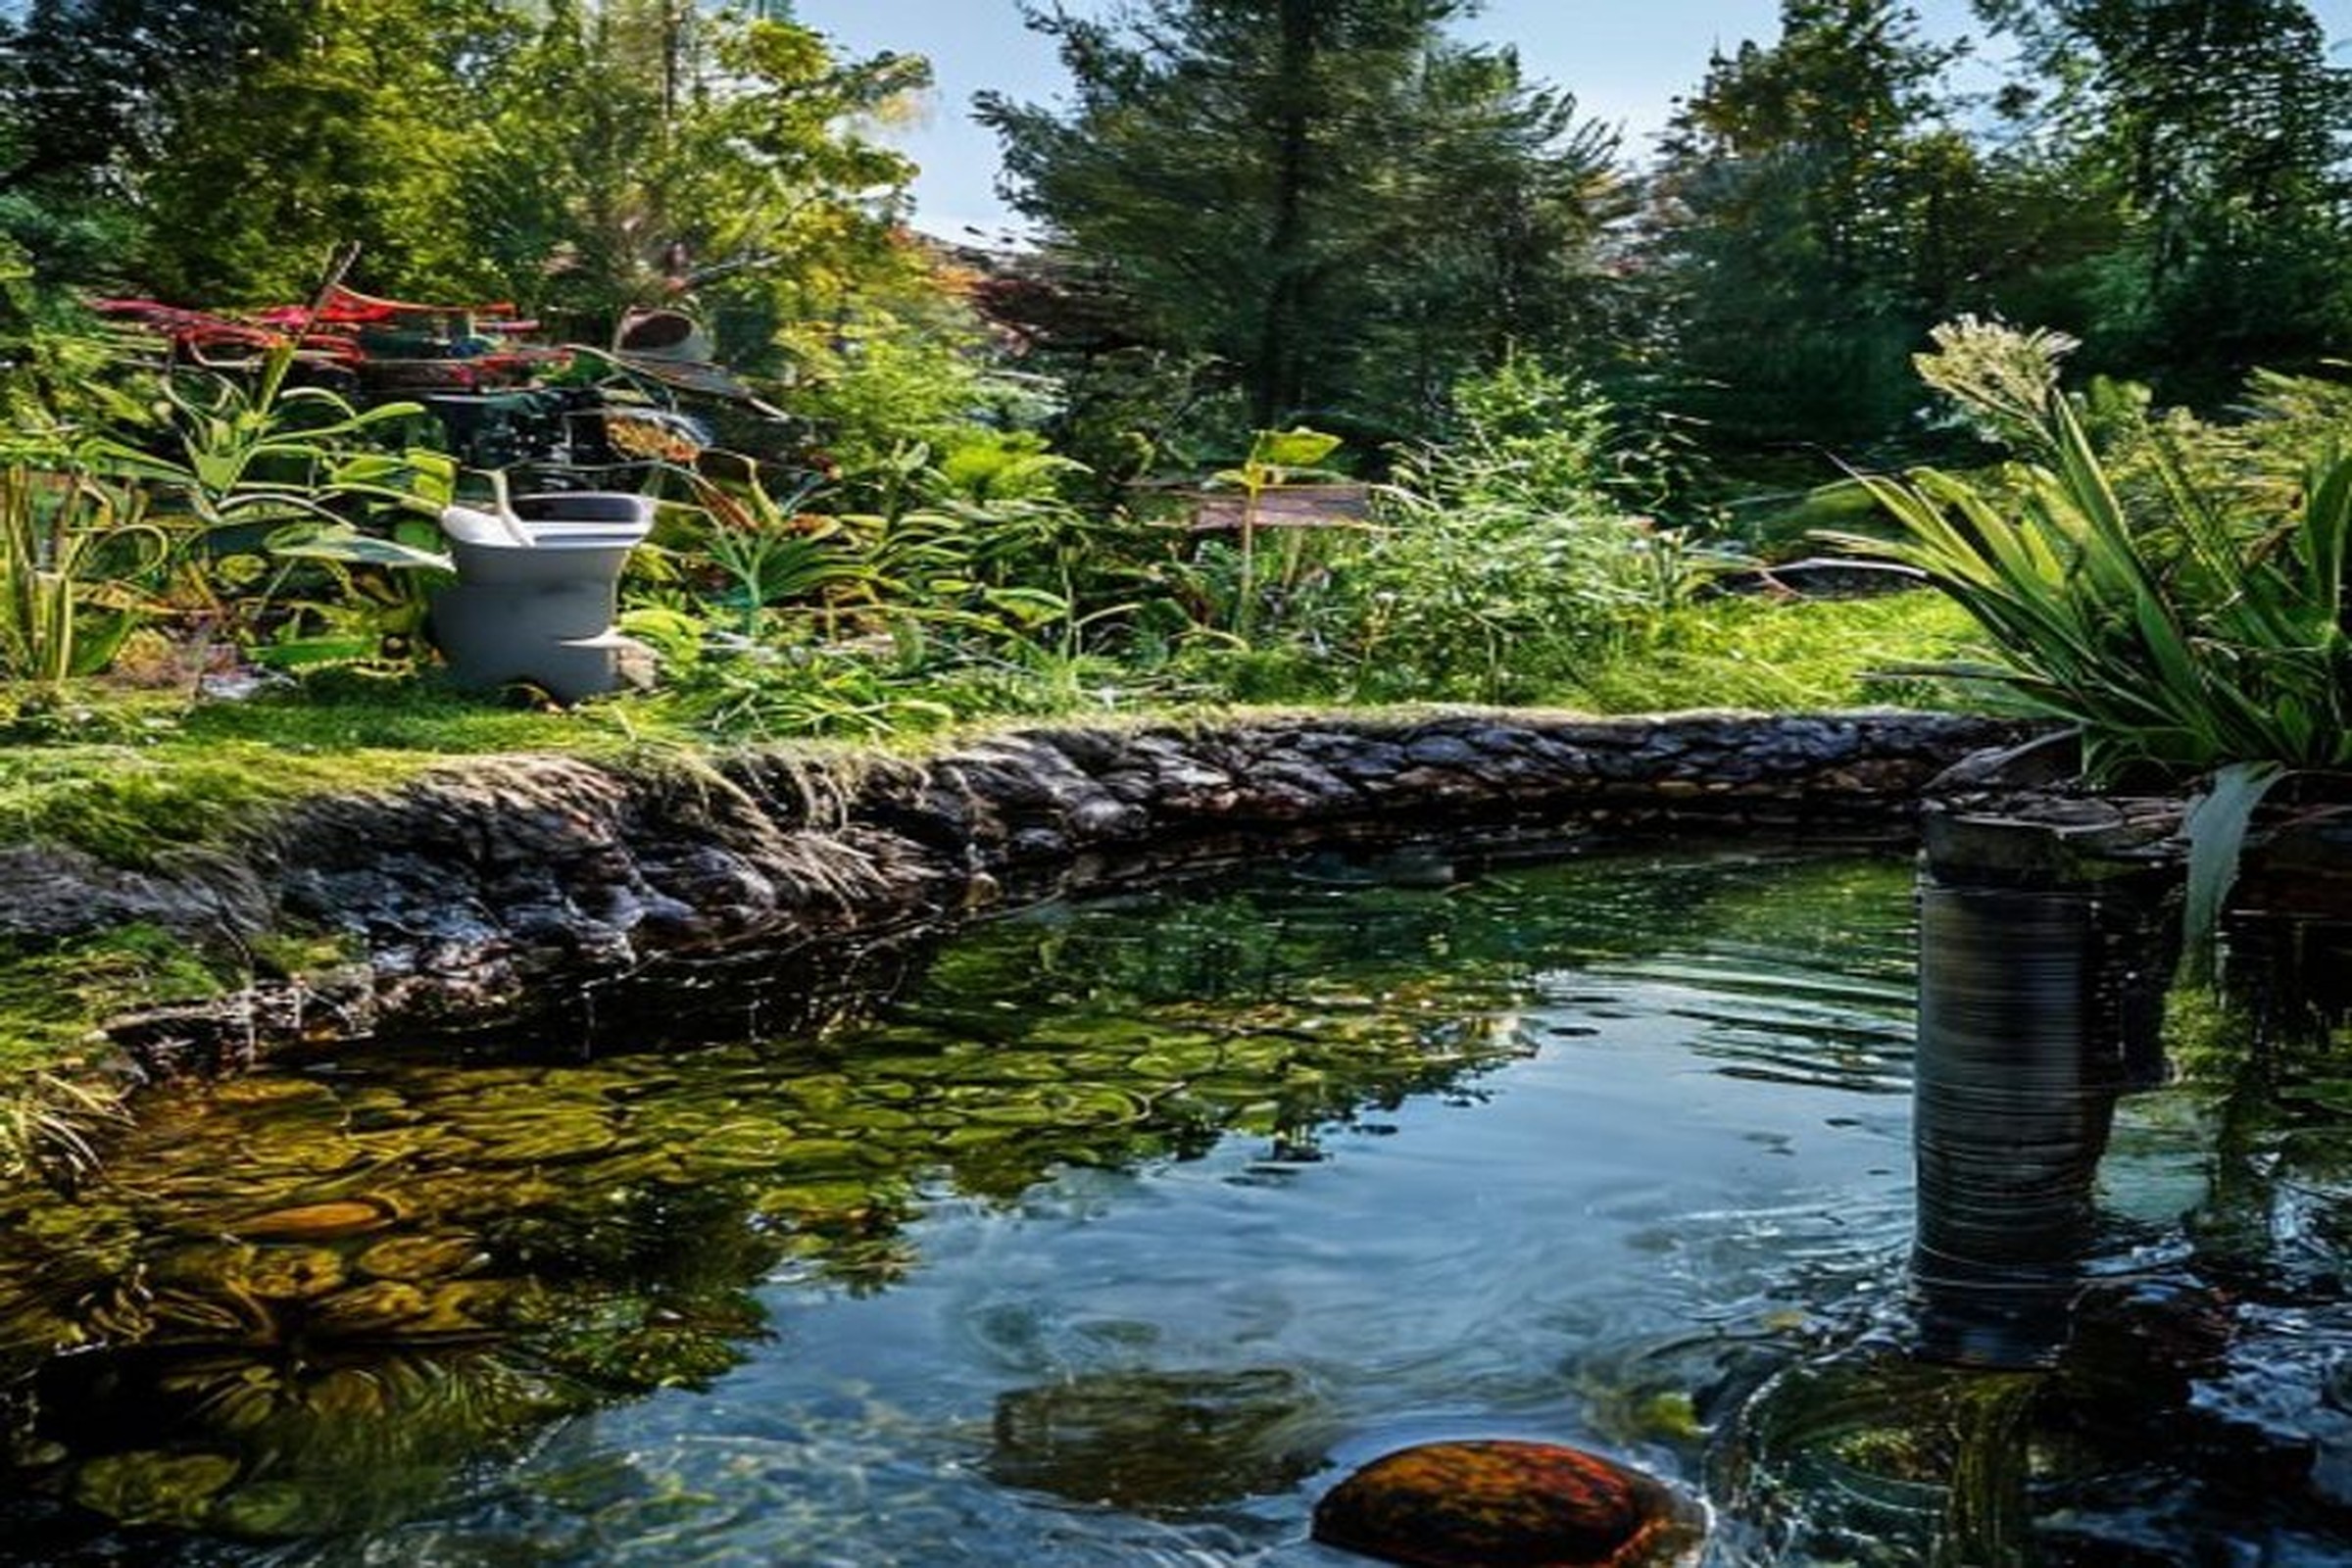
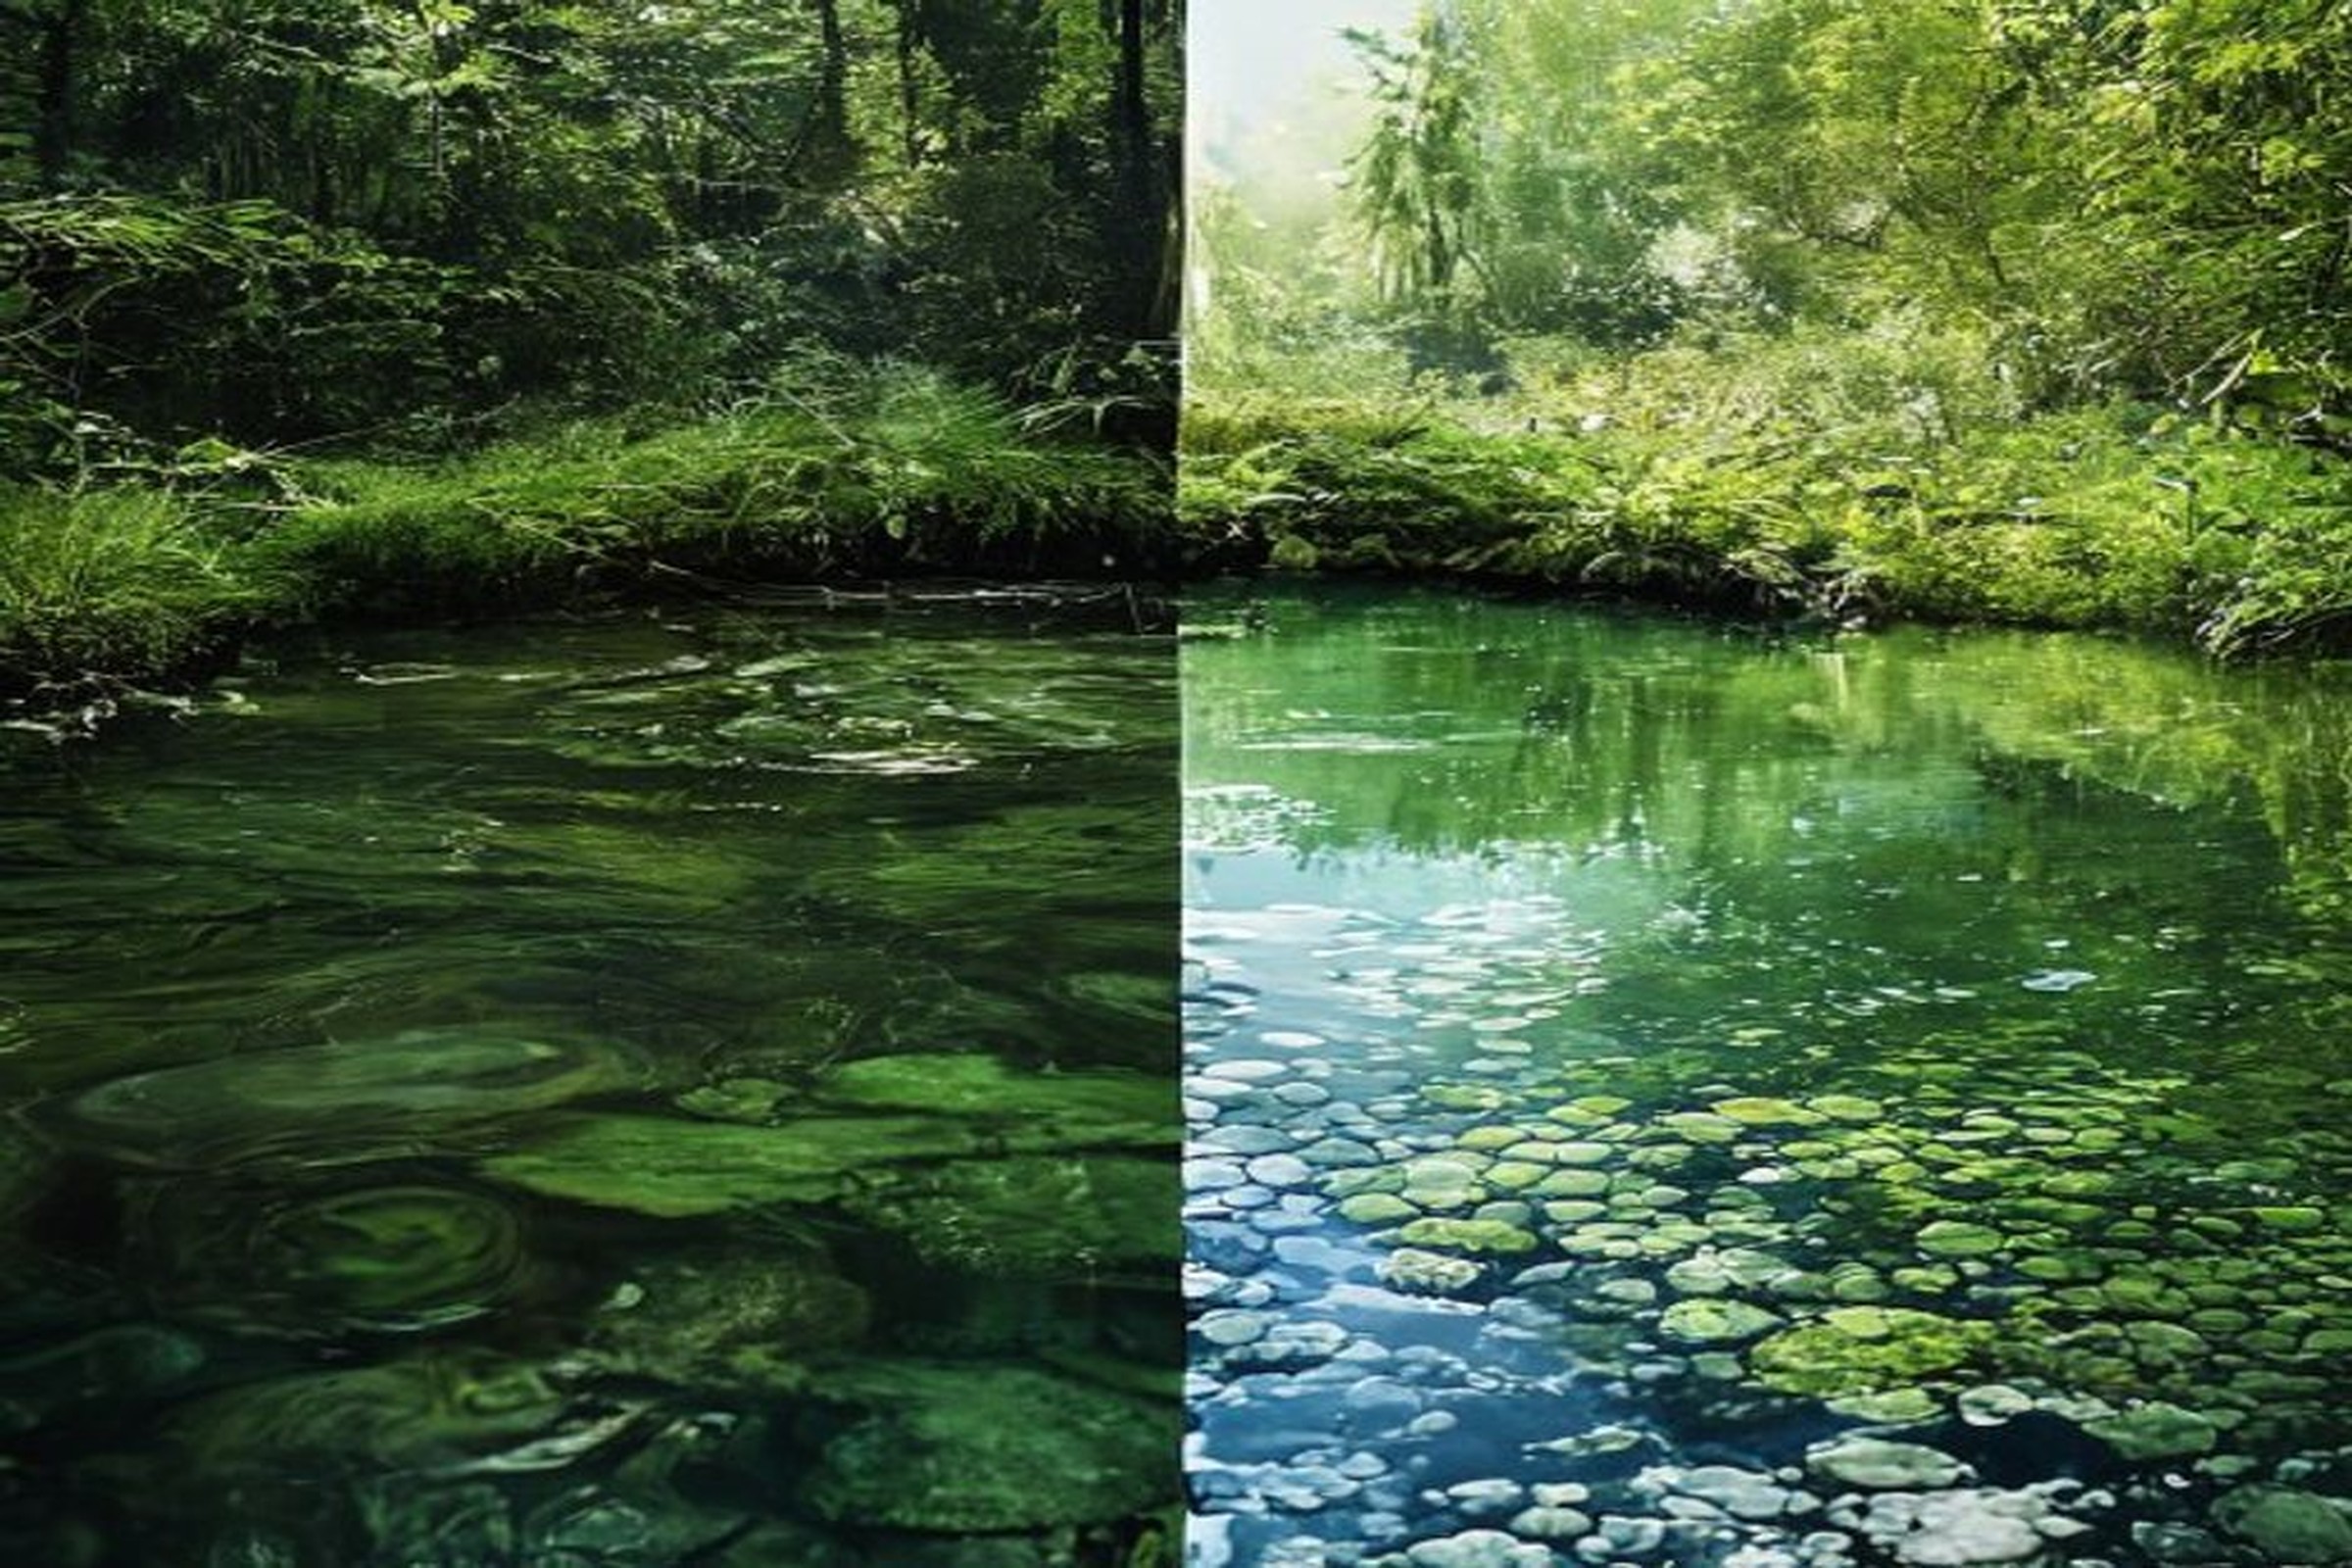
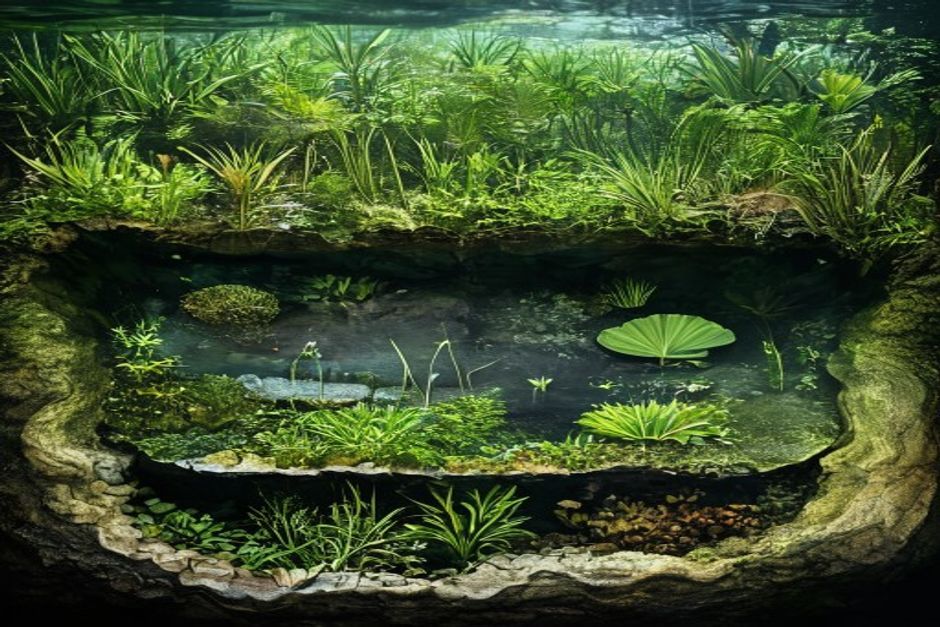
Mistake #3: Lack of depth zones
A natural pond is not a bathtub - it shouldn't have the same depth throughout. The lack of varied depth zones is a mistake that dramatically limits the pond's biodiversity and functionality.
A well-designed pond mimics the structure of a natural lake and includes a minimum of three depth zones:
- Marsh/marginal zone (0-20 cm): This is where marginal plants grow - water irises, cattails, marsh marigold. This zone functions as a first-line biological filter and provides shelter for frogs, dragonflies, and other beneficial organisms.
- Medium depth zone (20-60 cm): Perfect for water lilies, lotus, and other aquatic plants with submerged roots. This is where most of the pond's biological activity takes place.
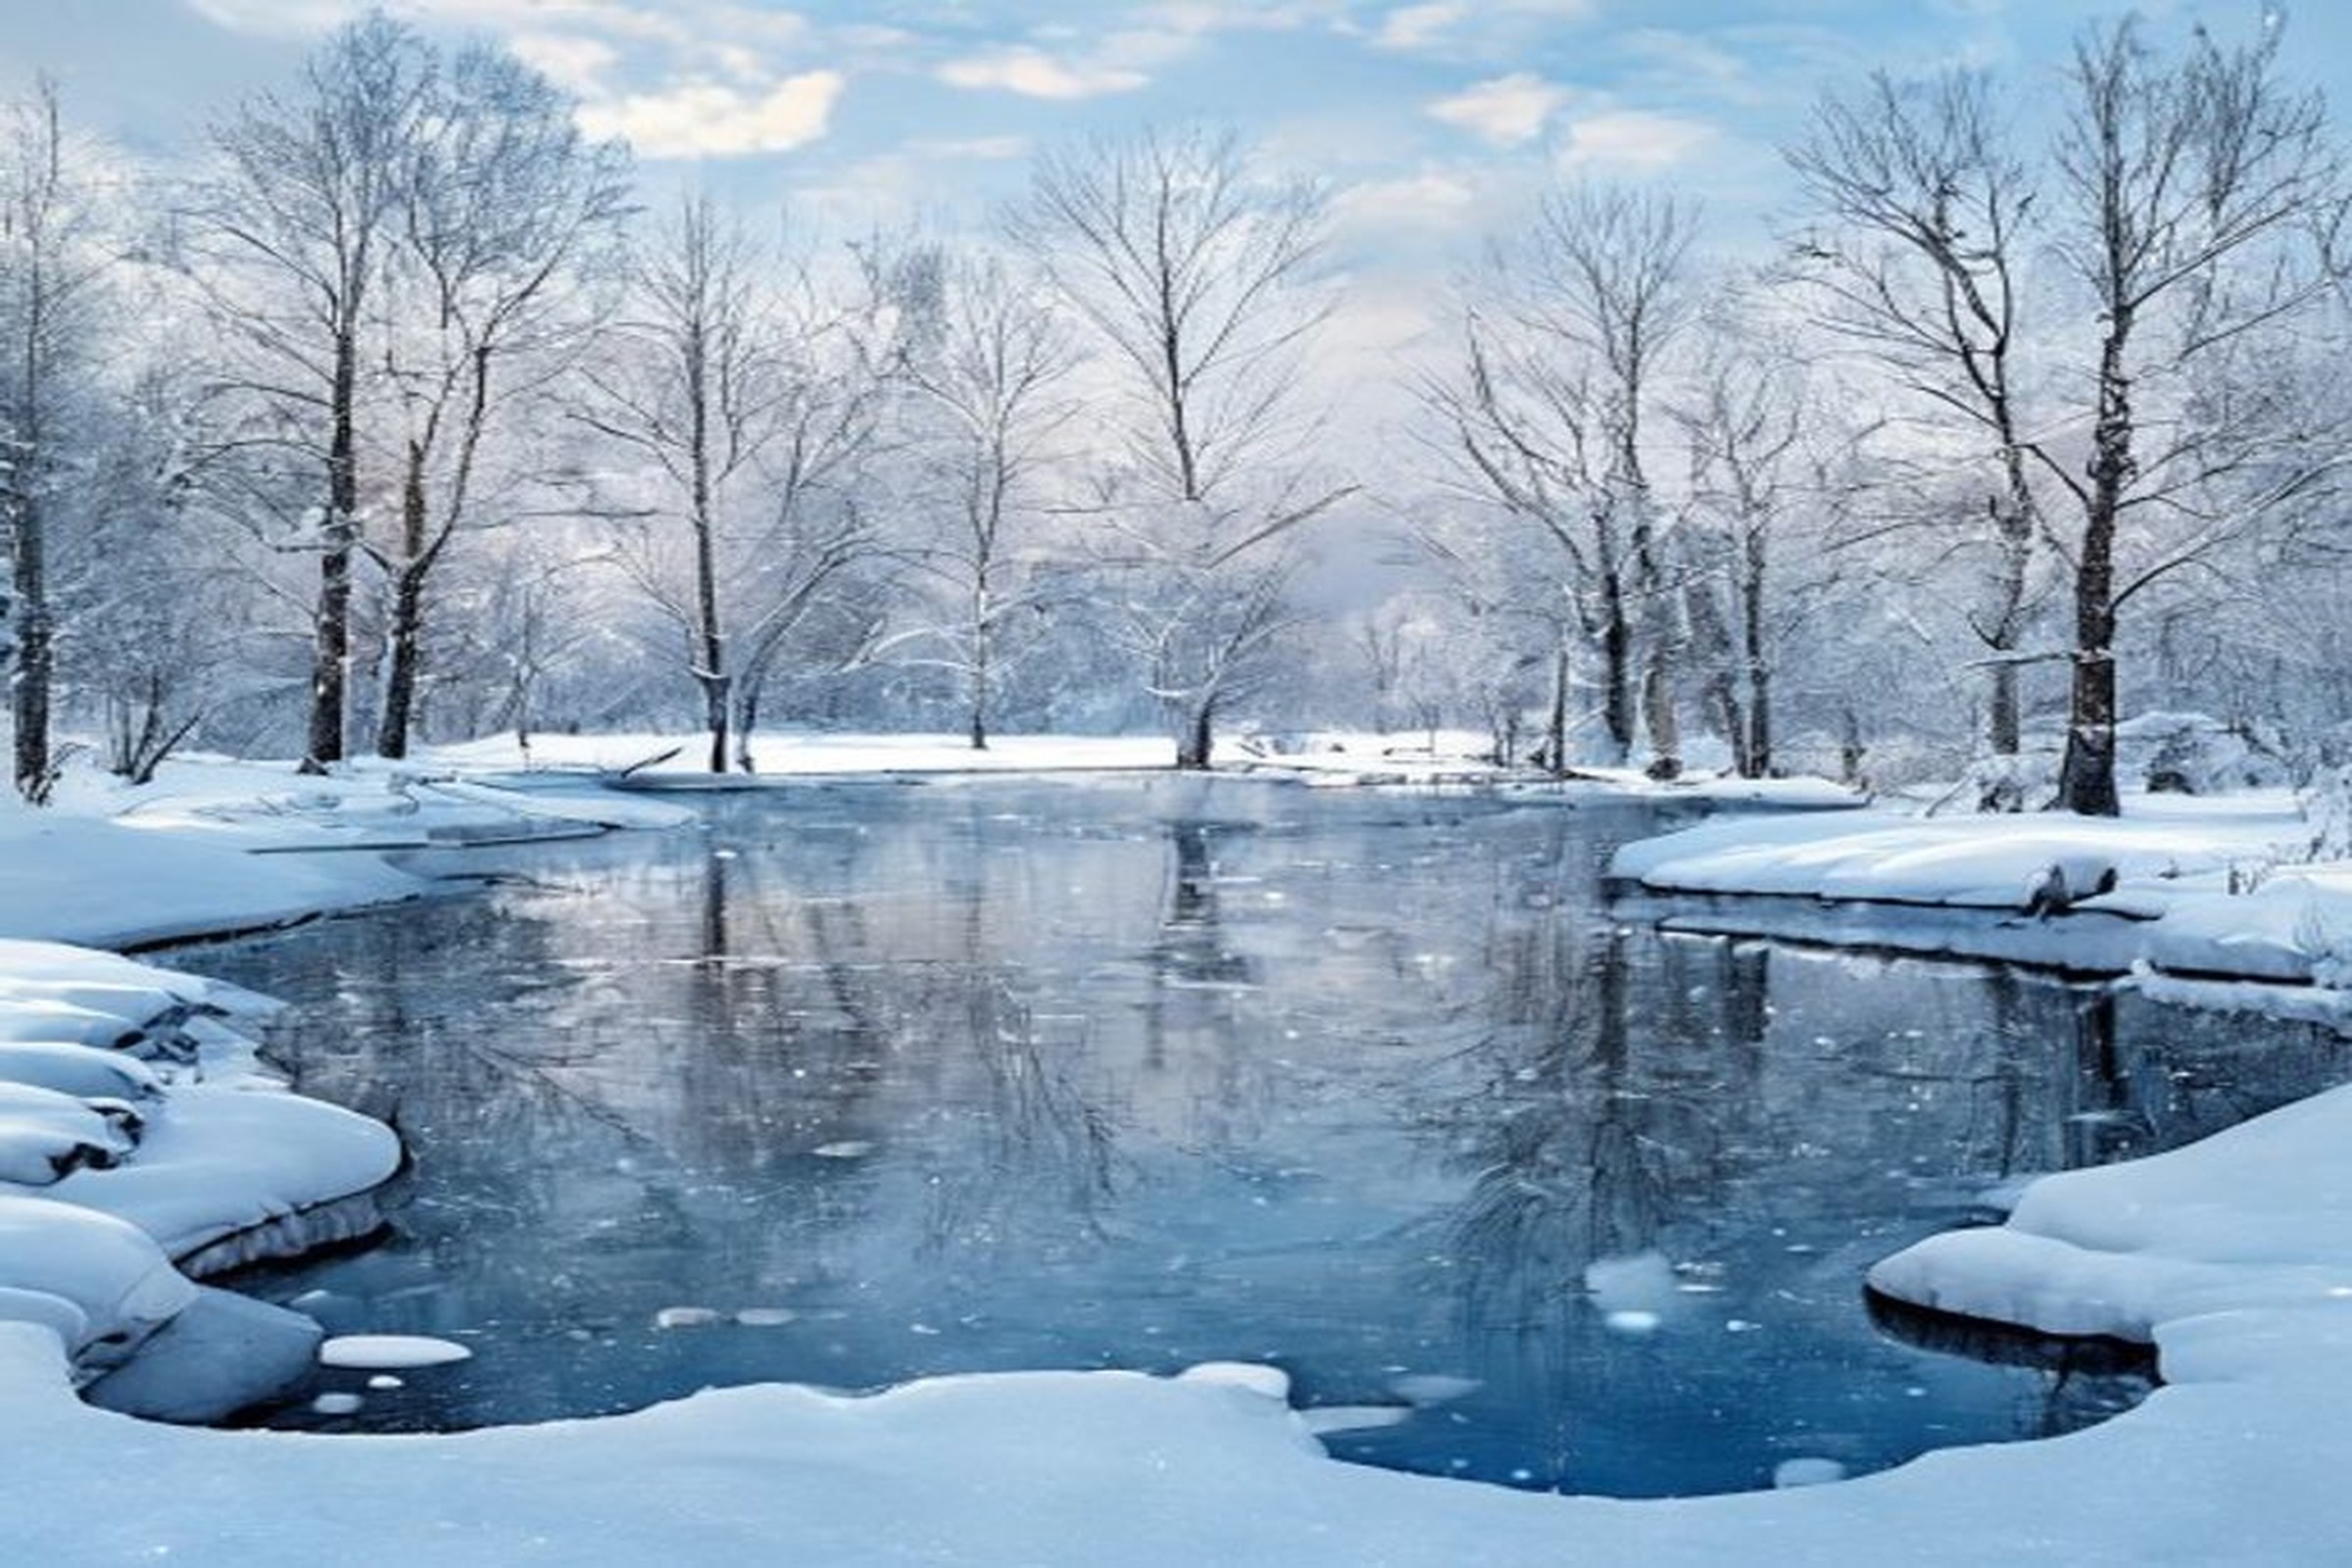
- Deep zone (80-150 cm): Essential for fish survival in winter when the surface water freezes. At depth, the temperature remains relatively constant (approximately 4°C), providing a vital refuge.
The transition between zones should be gradual, with well-defined planting shelves. A useful rule: the marginal zone should occupy approximately 30-40% of the total pond surface, the medium zone 30-40%, and the deep zone 20-30%.
Iazuri Naturale designs and installs custom filtration systems for any type of pond.
View our services →Mistake #4: Skimping on waterproofing
The waterproofing membrane is the "foundation" of the pond - if it fails, everything collapses. Unfortunately, it's also the area where many homeowners try to save money, choosing cheap materials that fail after 2-3 years.
Comparison of membrane types
- PVC (polyvinyl chloride): The cheapest option, with a lifespan of 10-15 years. It degrades under UV radiation, becomes rigid in cold weather, and cracks over time. Acceptable only for temporary projects or very limited budgets.
- EPDM (synthetic rubber): The industry standard, with a lifespan of 30-50 years. Flexible at temperatures down to -40°C, UV-resistant, and easy to repair. The recommended thickness is a minimum of 1 mm, ideally 1.14 mm.
- Bentonite (natural clay): An ecological solution for large ponds, but requires experience in application and doesn't tolerate large water level variations.
Essential waterproofing rules
- Always use a protective layer (geotextile) under and over the membrane - minimum 300 g/m²
- Remove all sharp stones, roots, and objects that could puncture the membrane
- Calculate the size correctly: (length + 2 x depth + 1 m margin) x (width + 2 x depth + 1 m margin)
- Overlaps between sheets must be at least 15 cm, bonded with special adhesive or welding tape
- Don't stretch the membrane excessively - leave enough folds to allow it to adapt to the terrain shape
The price difference between a 0.5 mm PVC membrane and a 1 mm EPDM membrane is approximately 5-8 EUR/m². For a 20 m² pond, this means a difference of 100-160 EUR - a negligible investment compared to the cost of dismantling and rebuilding the pond a few years later.
Mistake #5: Undersizing the filter
The biological filter is the "kidney" of the pond - it processes waste, breaks down toxic ammonia, and keeps the water clear. Undersizing the filter is probably the most costly long-term mistake, because an inadequate filter turns the pond into a green soup every summer.
The fundamental rule is simple: always choose a filter rated for a larger volume than your pond. If you have a 5,000-litre pond, choose a filter rated for 10,000 litres. If you have fish, double the required capacity again.
Calculation factors for filter sizing
- Pond volume: The entire water volume should pass through the filter once every 1-2 hours
- Fish load: Every kilogram of fish significantly adds to the filtration needs. General rule: 1 kg of fish per 1,000 litres of water, with corresponding filtration
- Sun exposure: A pond exposed to direct sunlight requires stronger filtration than a partially shaded one
- Pump flow rate: The pump must be sized in tandem with the filter - a large filter with a weak pump is just as inefficient as a small filter with a powerful pump
For a 10,000-litre pond with ornamental fish, we recommend a minimum pump flow rate of 5,000 litres/hour and a filter with a filtration media volume of at least 100-150 litres. Don't forget to include a mechanical filter (pre-filter) that retains large particles before the water reaches the biological filtration stage.
Mistake #6: Too many fish, too soon
The enthusiasm to see the pond "alive" is understandable, but introducing fish immediately after filling with water is a sure recipe for disaster. A freshly built pond has no active biological filter - the beneficial bacteria that process ammonia and nitrites need time to colonise the filter media.
The correct stocking process
- Weeks 1-2: Let the pond "mature" with only water and plants. Add a starter product with beneficial bacteria.
- Weeks 3-4: Monitor water parameters (ammonia, nitrites, pH). Add the first 2-3 submerged oxygenating plants.
- Weeks 4-6: When ammonia and nitrite levels drop to zero, introduce the first 2-3 small, hardy fish (goldfish, for example).
- Weeks 6-8: Monitor parameters again. If they remain stable, gradually add more fish, 2-3 at a time, at 2-week intervals.
The recommended maximum density is 1 fish of 10-15 cm per 500 litres of water for common ornamental fish and 1 koi per 1,000-1,500 litres. Overstocking leads to ammonia build-up, disease, stress, and increased mortality - problems that amplify exponentially, not linearly.
Don't forget: fish grow. A koi purchased at 10 cm can reach 60-80 cm within a few years. Plan for the adult size, not the size at the time of purchase.
Need personalized advice? Our team offers free consultation for your project.
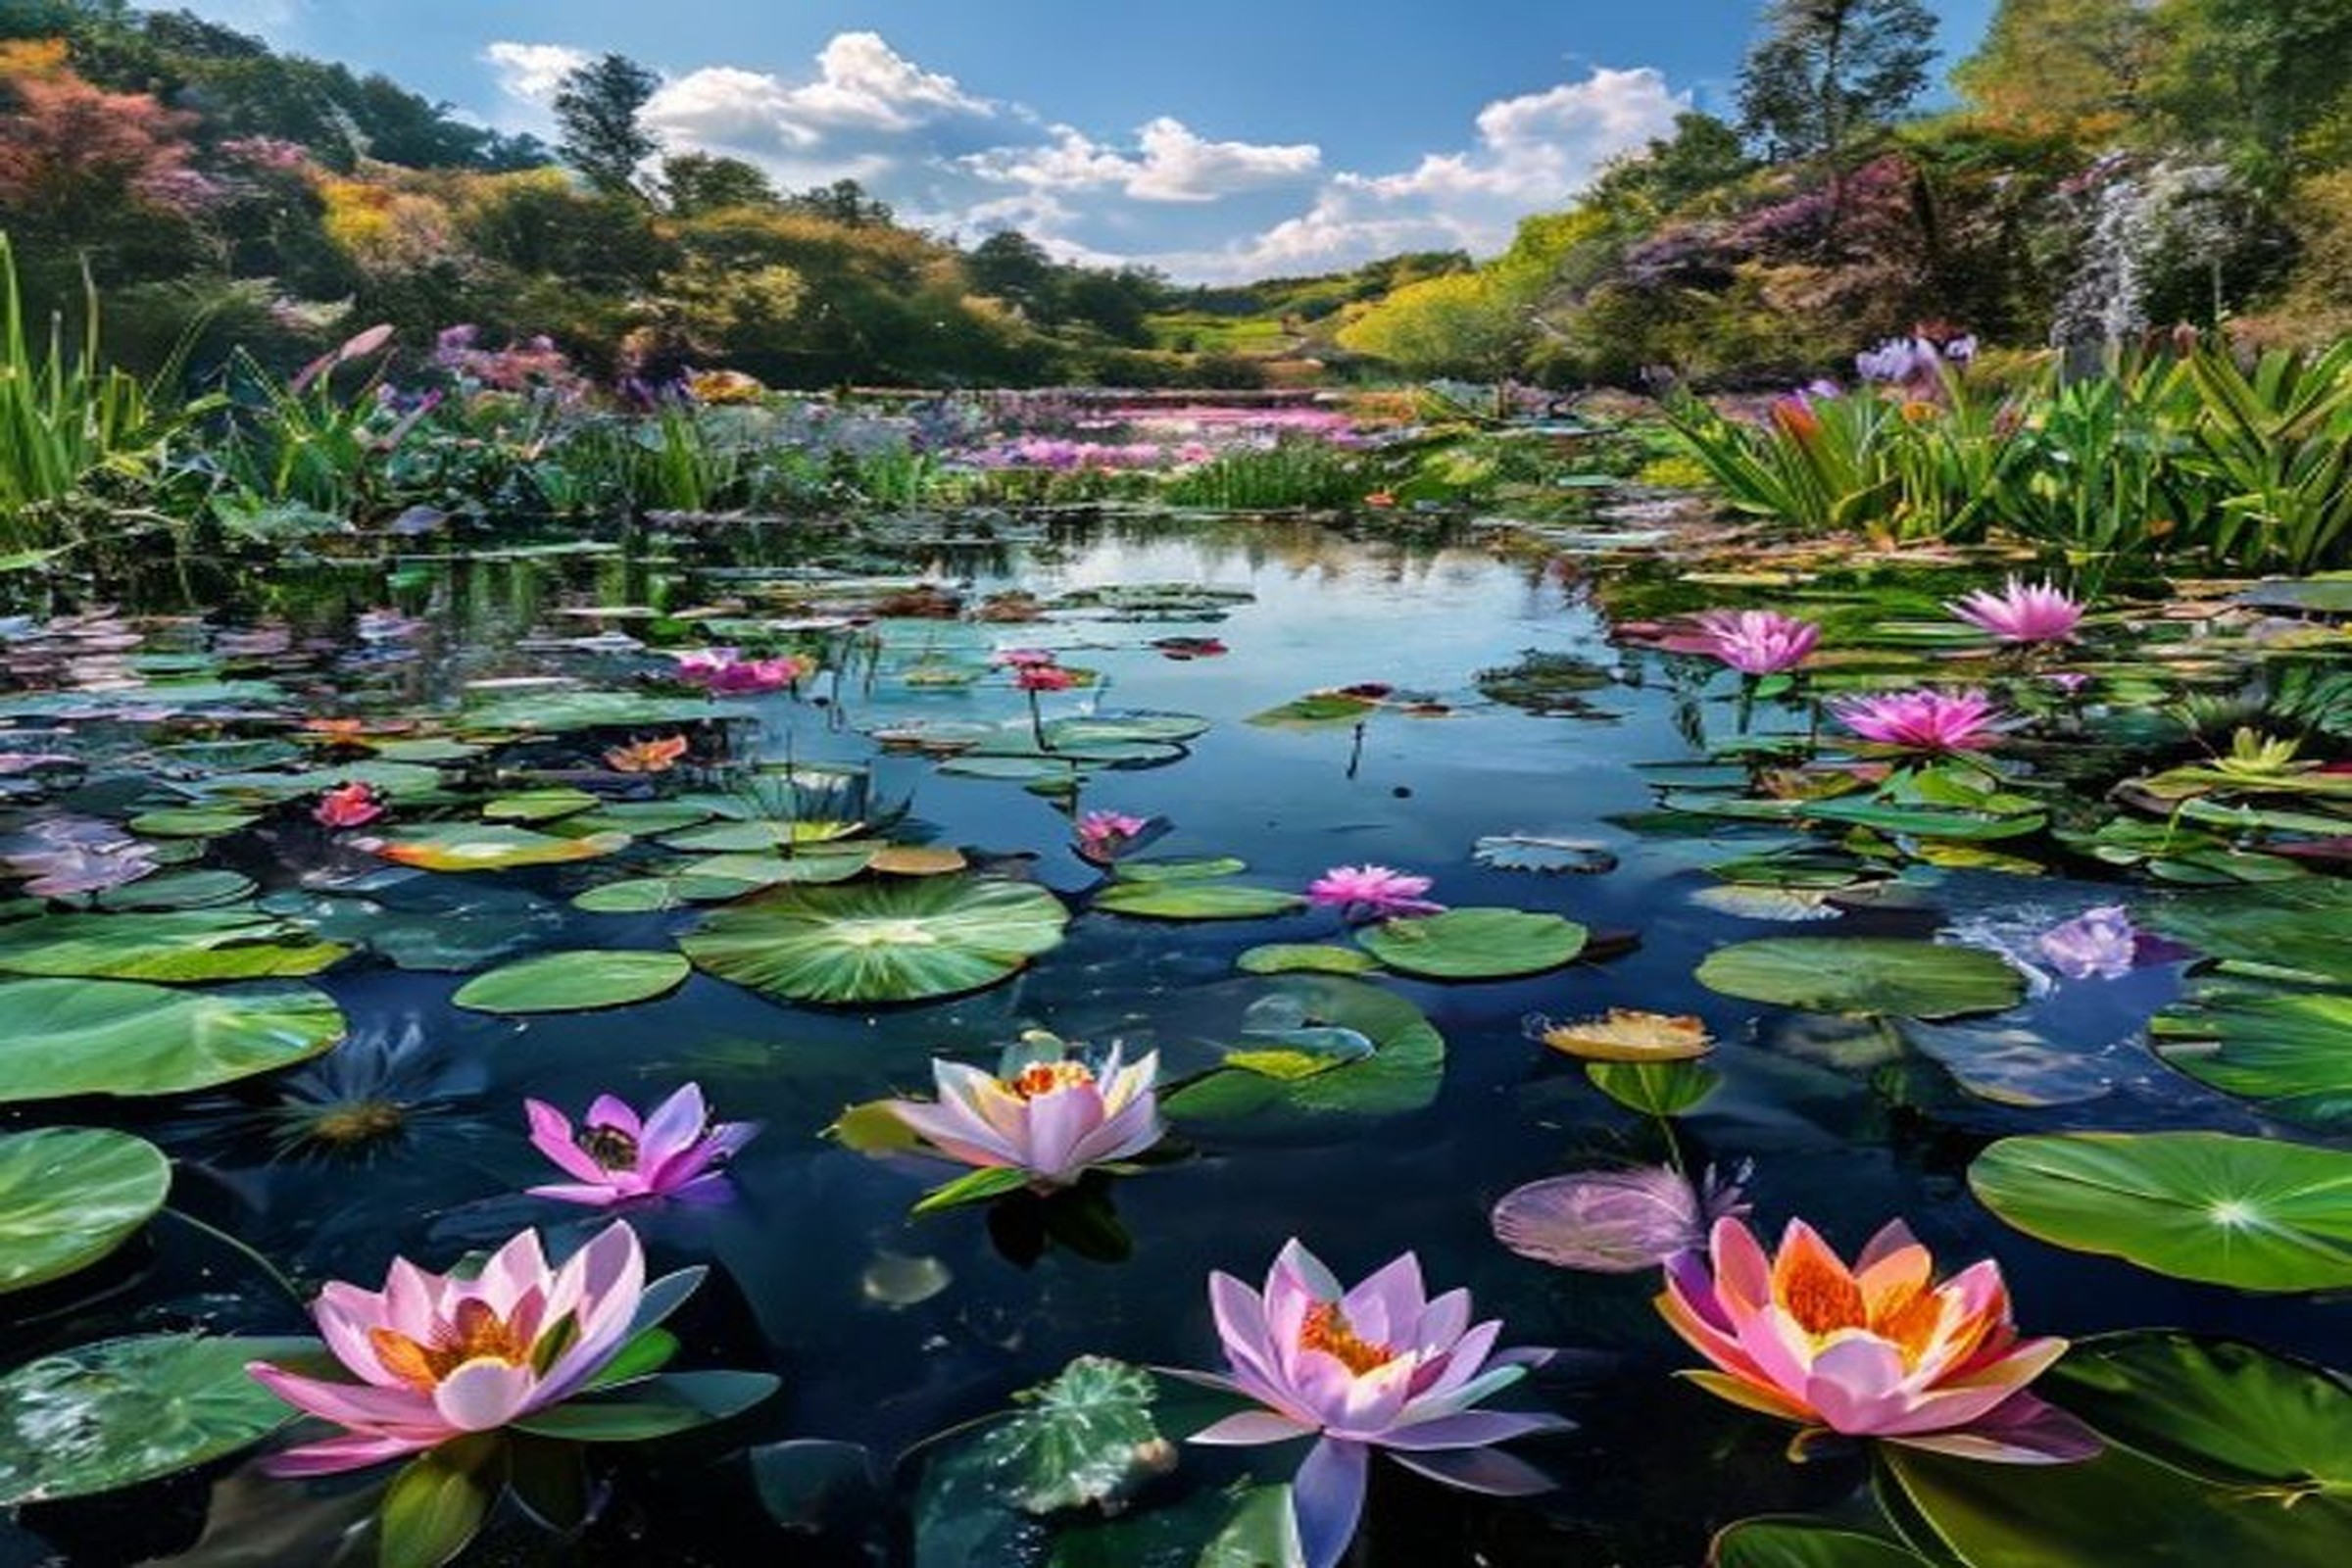
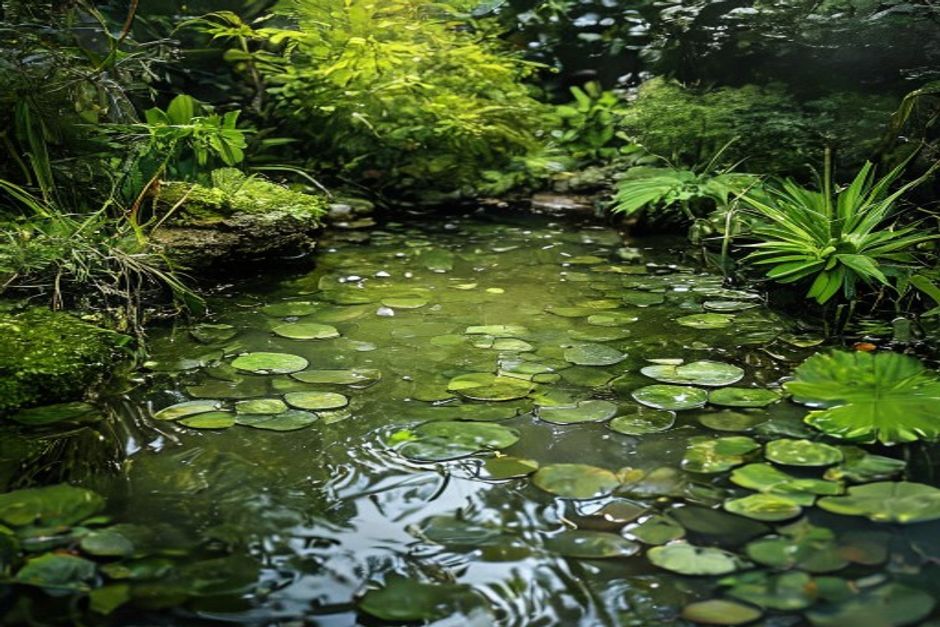
Schedule a consultation →Mistake #7: Ignoring aquatic plants
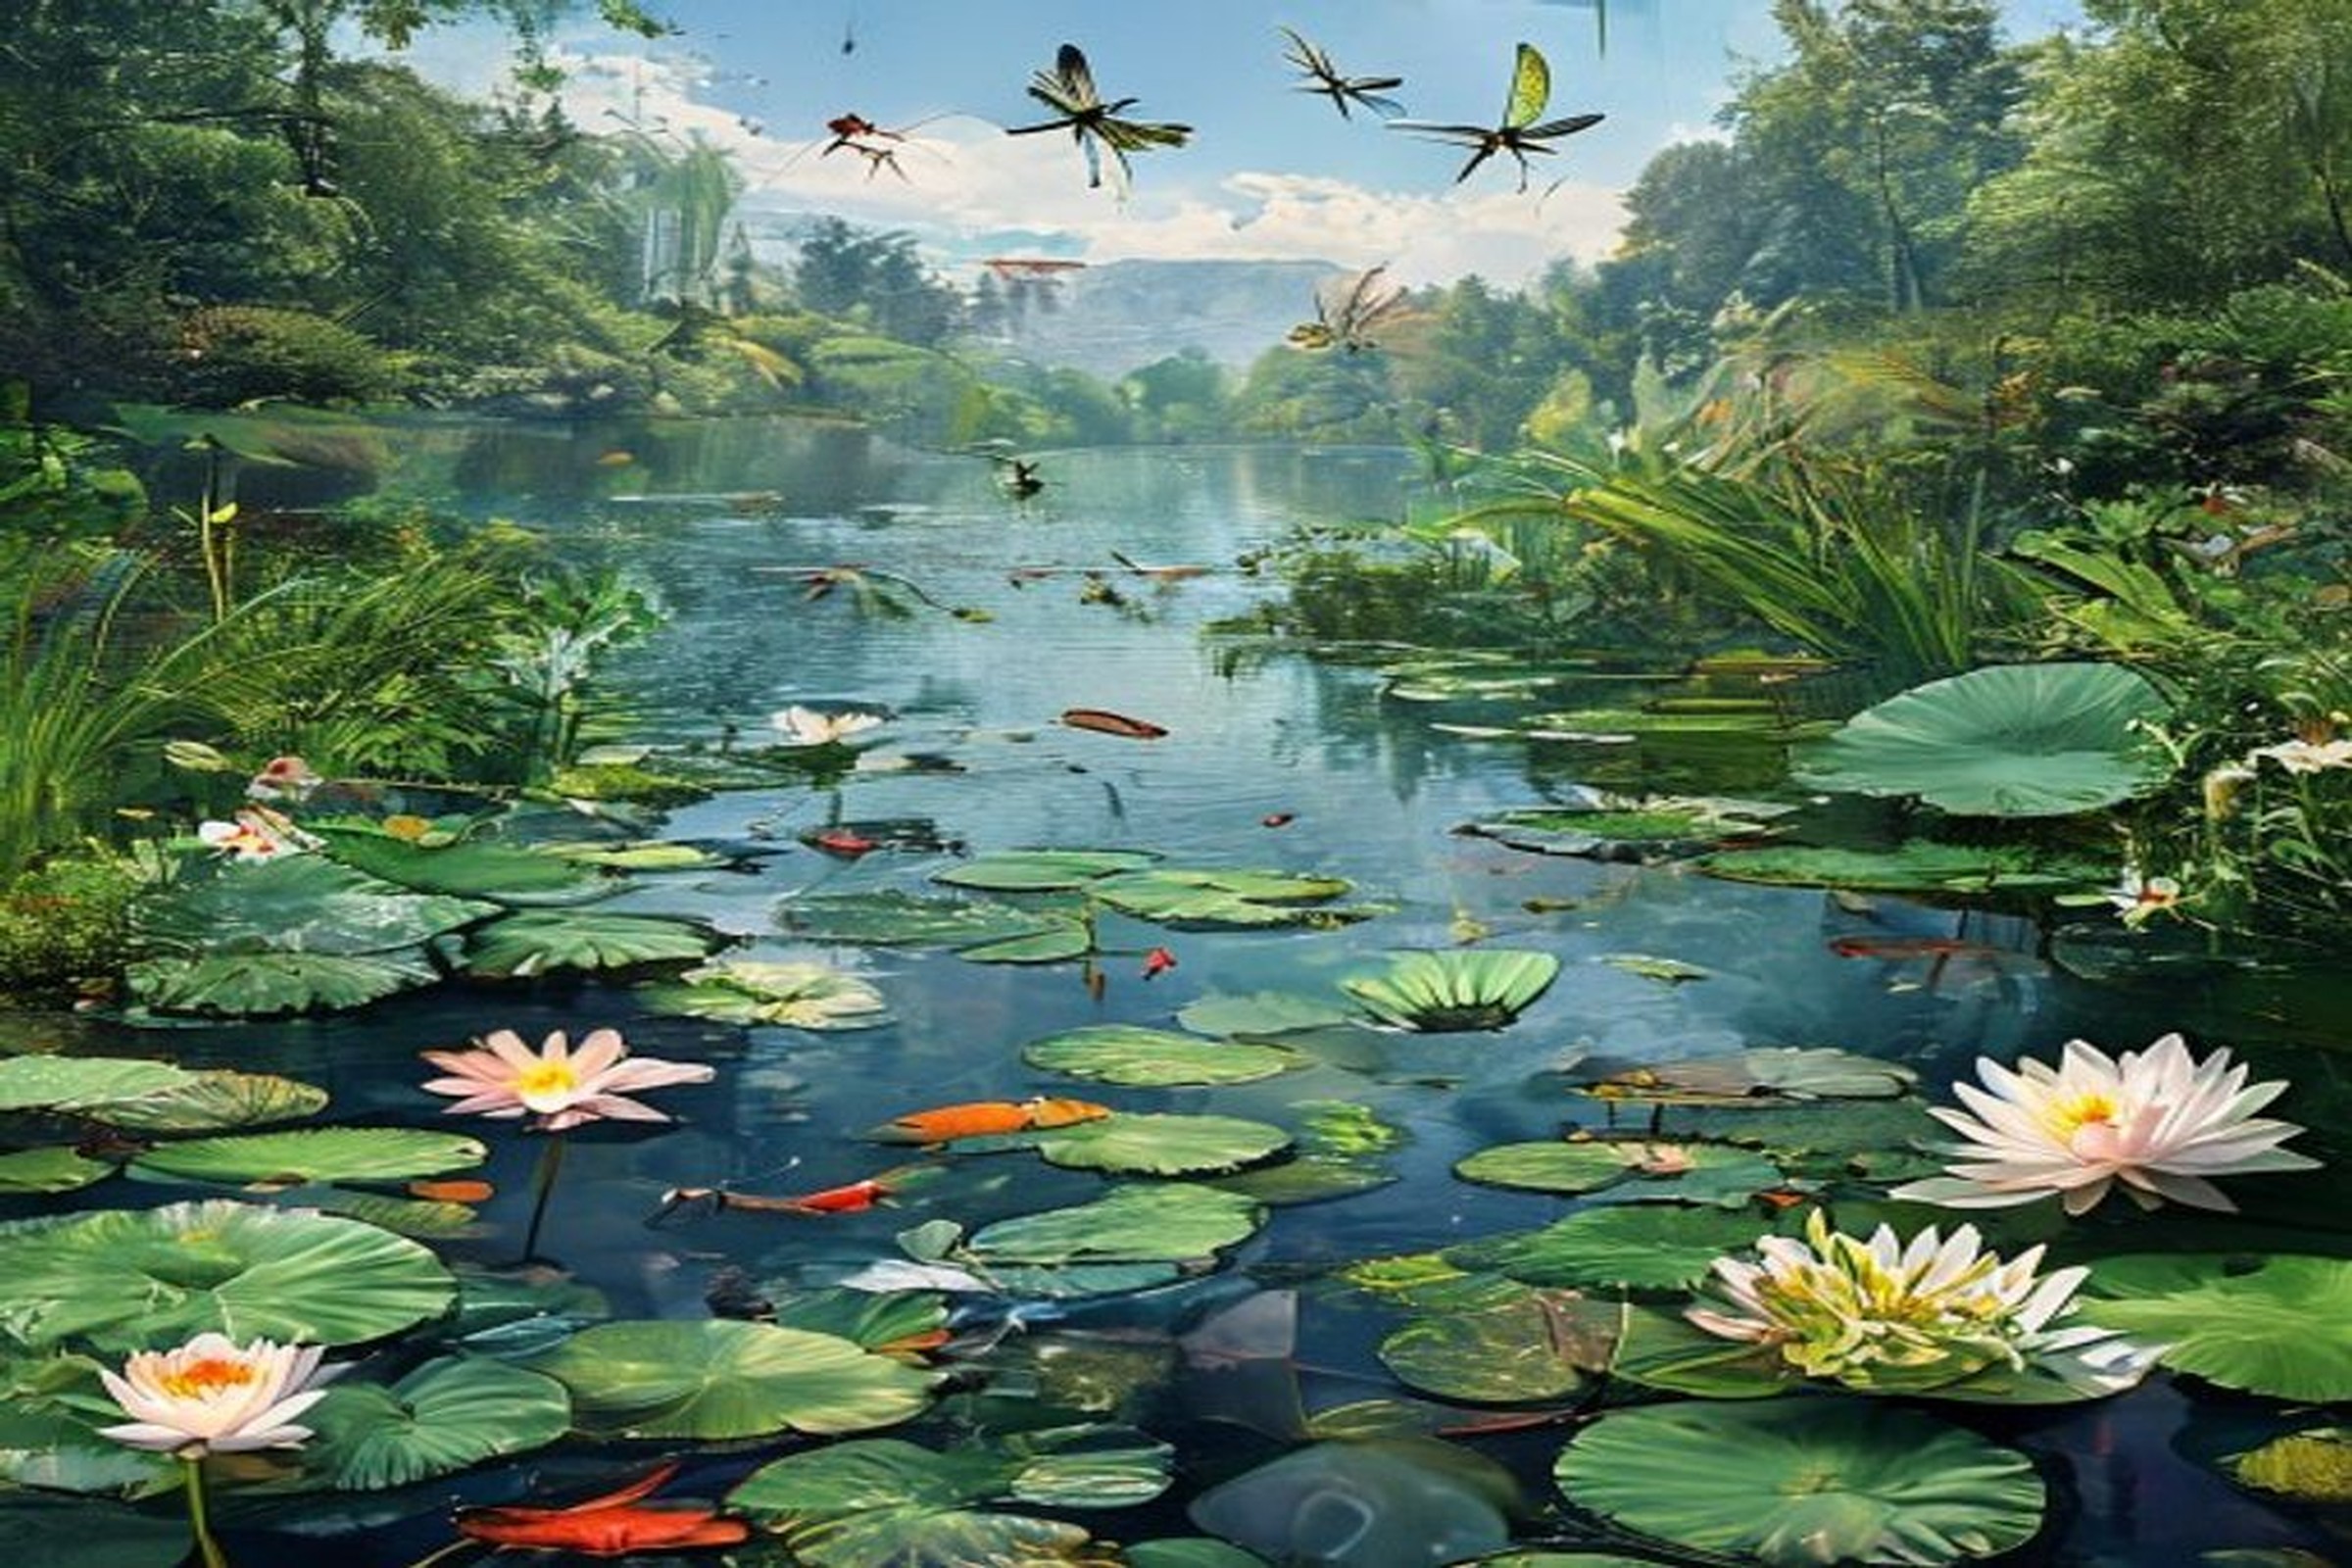
We've met owners who want "a clean pond, without plants" - a contradiction in terms. Aquatic plants are not optional decorations; they are the essential component of the natural filtration system. A pond without sufficient plants will always have water quality problems.
Why plants are indispensable
- Nutrient absorption: Plants consume nitrogen and phosphorus from the water - exactly the substances algae need to multiply. Without plants, these substances remain available for algae.
- Water oxygenation: Submerged plants (such as Elodea or Ceratophyllum) produce oxygen through photosynthesis, essential for fish and filter bacteria.
- Natural shade: The floating leaves of water lilies and other plants block sunlight, reducing algae growth by up to 60-70%.
- Biological shelter: Submerged roots provide shelter for fry, crustaceans, and beneficial insects.
Recommended coverage
The target is vegetation coverage of 50-70% of the pond surface, distributed as follows:
- Marginal plants (marsh zone): Iris pseudacorus, Typha minima, Caltha palustris - approximately 3-5 plants per linear metre of edge
- Submerged plants (oxygenating): Elodea canadensis, Ceratophyllum demersum - one bunch per 0.5 m² of surface
- Floating plants: Nymphaea (water lilies), Nymphoides - one water lily covers approximately 1-1.5 m² at maturity
- Emergent plants (on planting shelf): Pontederia, Sagittaria, Alisma - diversify the ecosystem and provide decorative flora
Plant generously from the start. Although it may seem like the pond is "suffocated," plants need 1-2 seasons to fully establish, and in the first year you'll notice slower growth anyway.
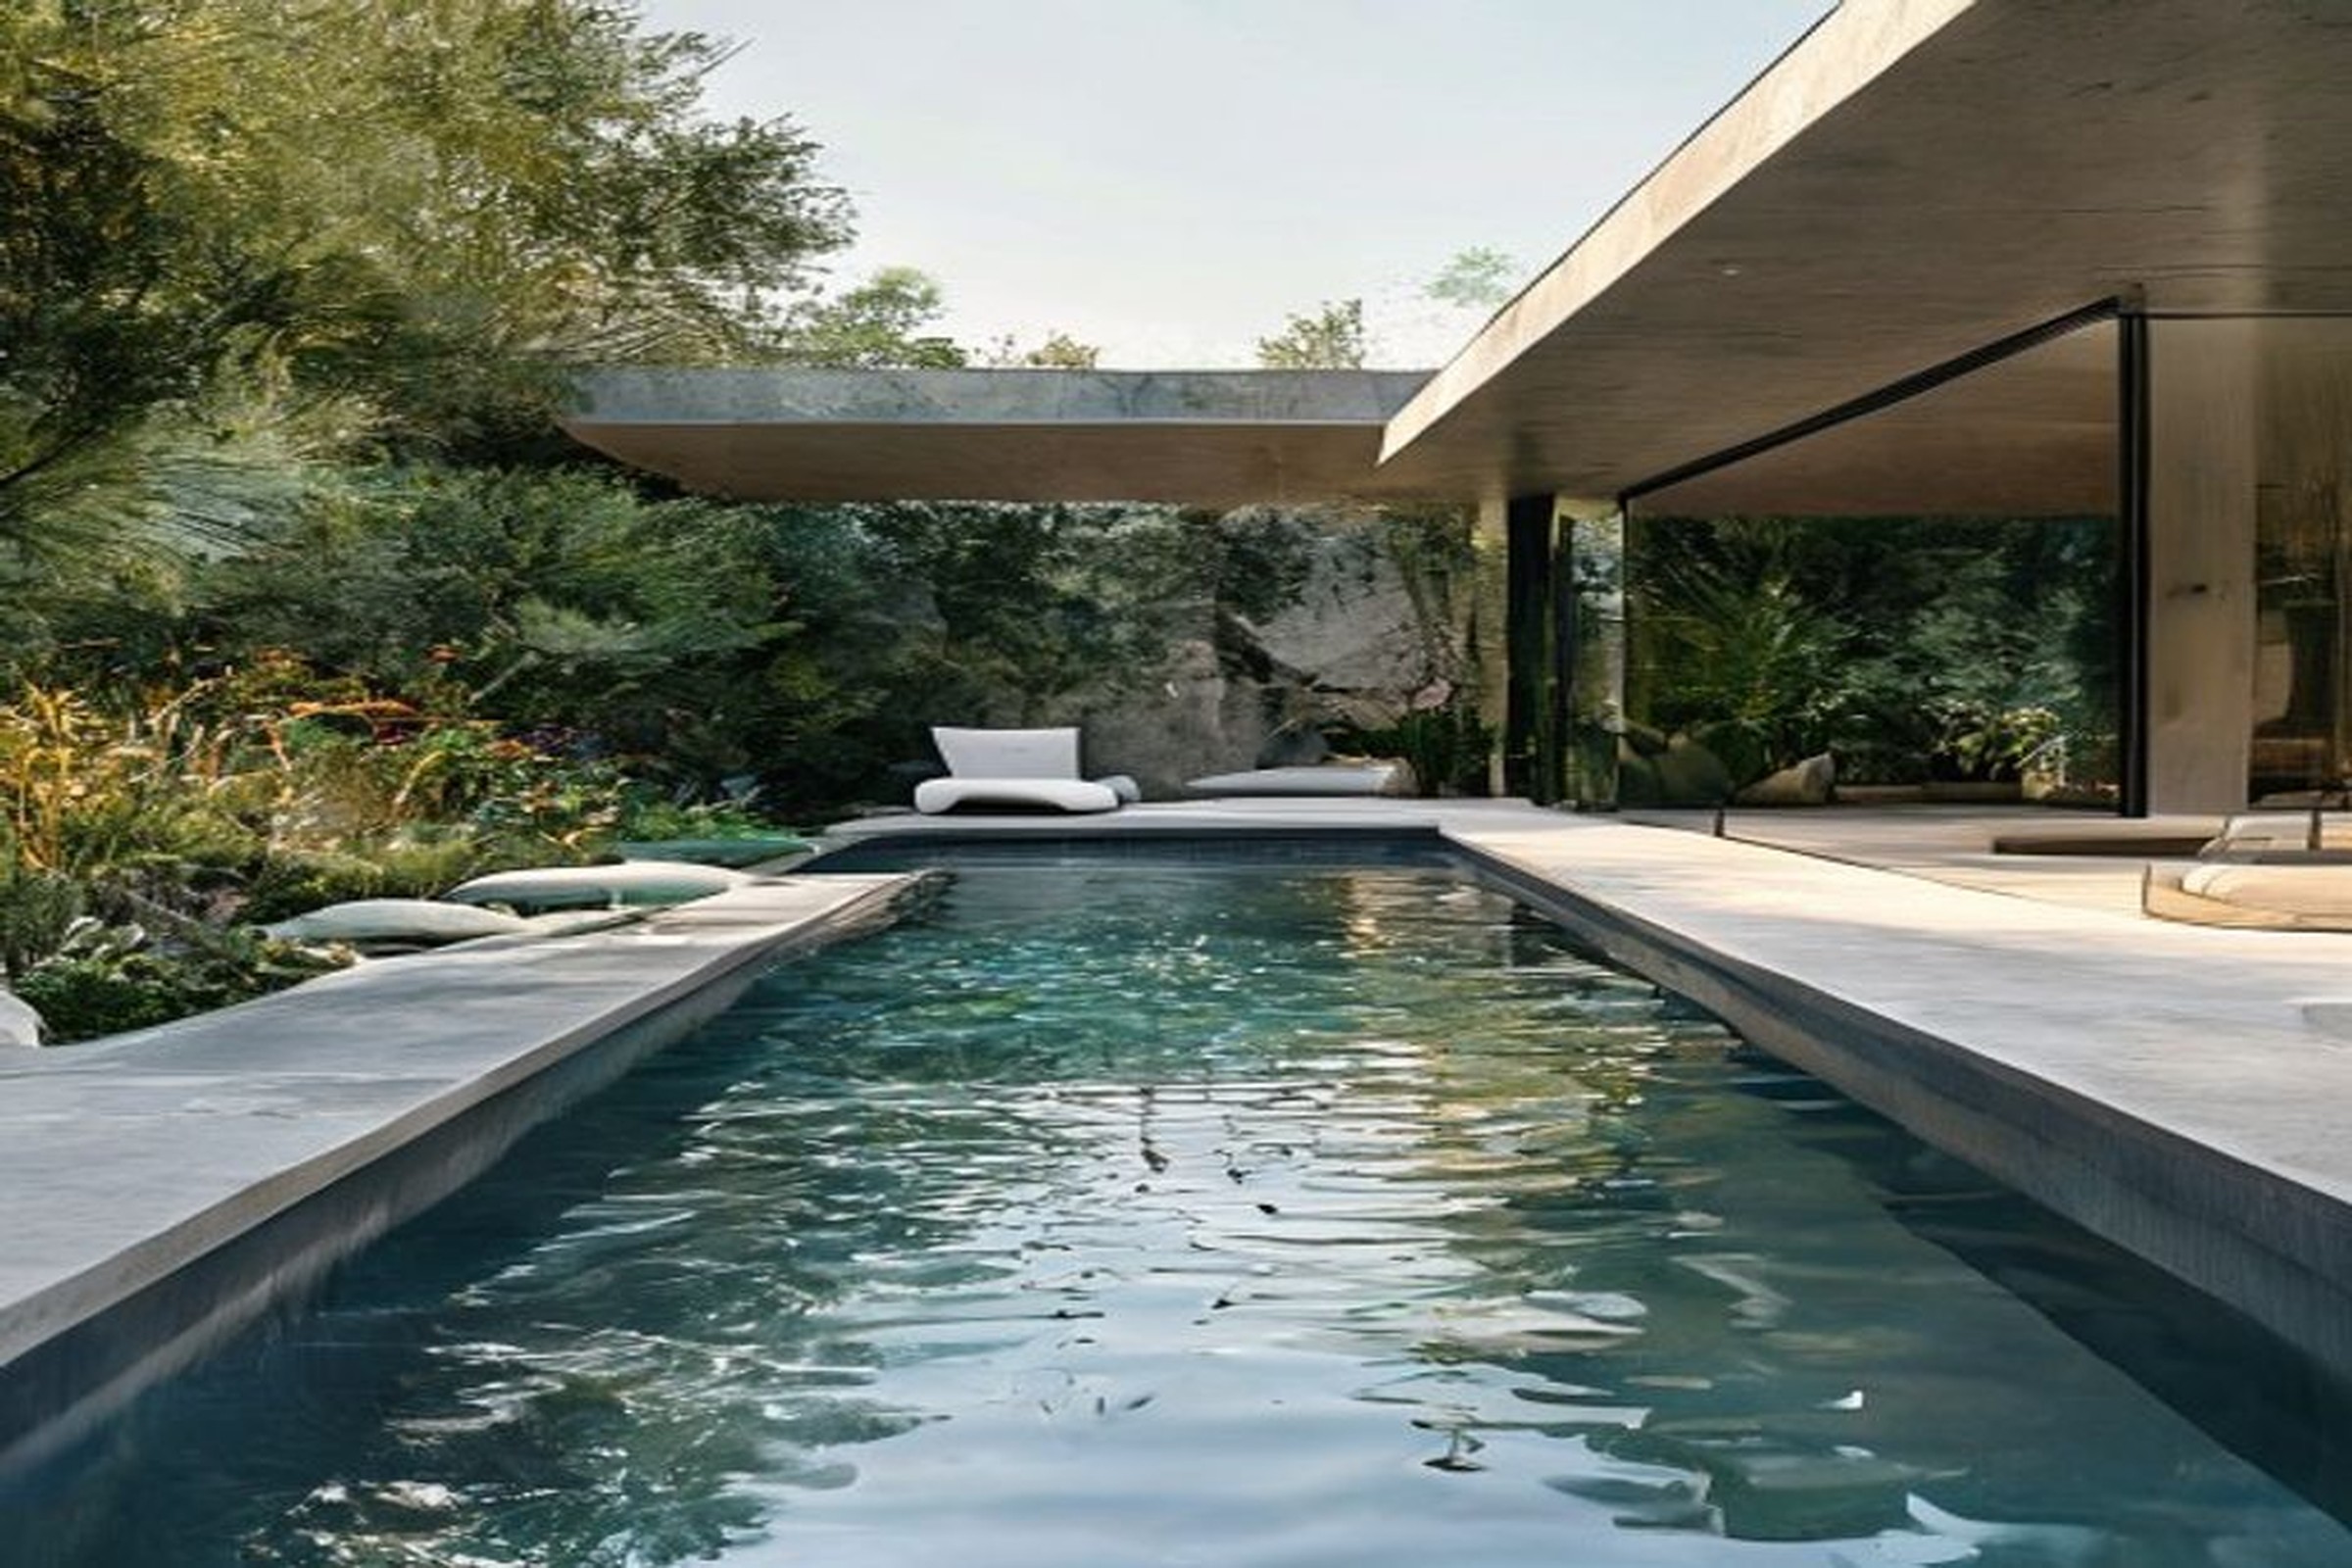
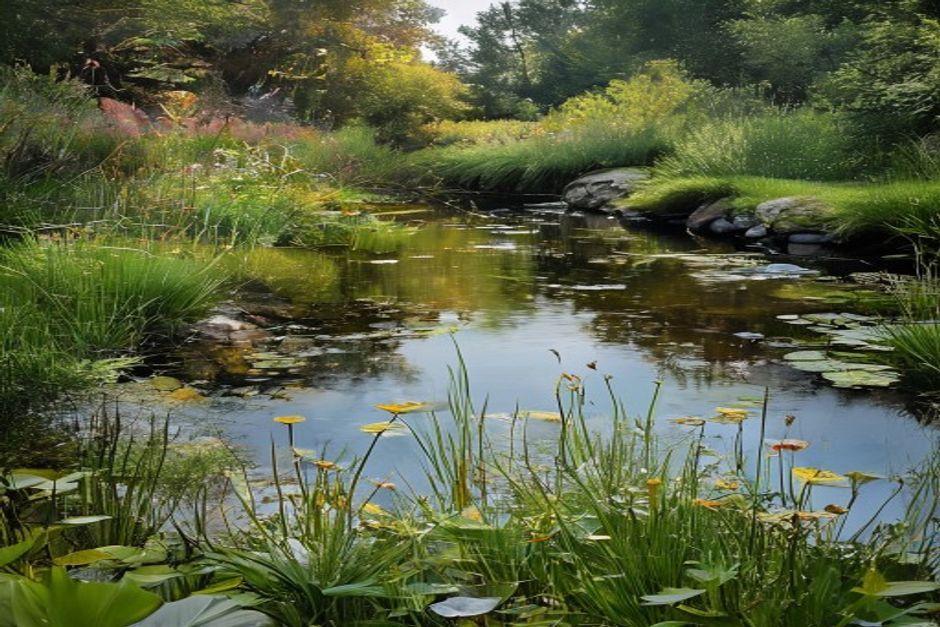
Mistake #8: Steep and unnatural banks
A pond with vertical banks, cut like a swimming pool, not only looks artificial - it's also dangerous and dysfunctional. Steep banks erode quickly, don't allow planting of marginal vegetation, and create a slipping risk for small animals and children.
The ideal bank profile
The recommended slope is maximum 1:3 (for every 30 cm of depth, the bank recedes 90 cm horizontally). This creates a gentle slope that allows:
- Planting vegetation on natural shelves at different depths
- Easy access for wildlife (hedgehogs, birds, frogs) - and their exit from the water
- Long-term structural stability of the banks
- A natural appearance, integrated into the garden landscape
Bank naturalisation techniques
- River stones: Arrange stones of various sizes along the edges, from small gravel (2-4 cm) to boulders (20-40 cm). Don't align them uniformly - in nature, stones are distributed randomly.
- Coconut fibre rolls: These biodegradable rolls stabilise the bank during the first 2-3 years until plant roots take over the anchoring role.
- Gravel beach: Create at least one easy-access area with fine gravel, which serves as a drinking spot for birds and an exit point for animals.
- Gradual transition: The bank should "melt" into the garden landscape. Avoid straight lines - an organic contour with bays and promontories looks natural and creates diverse micro-habitats.
Mistake #9: Lack of maintenance access
A beautifully built pond that's inaccessible for maintenance quickly becomes a nightmare. We've seen biological filters placed under fixed wooden platforms, pumps buried under layers of stone, and ponds completely surrounded by dense plantings without any access.
Essential access requirements
- Perimeter path: Ensure access along at least 60-70% of the pond's perimeter. A path 50-60 cm wide made of natural stone or paving slabs is sufficient.
- Filter access: The biological filter must be accessible without needing to move furniture, plants, or structures. Regular cleaning (every 2-4 weeks) shouldn't take more than 15-20 minutes.
- Accessible pump: The pump should be removable from the pond within a maximum of 5 minutes, without diving or special equipment. Mount it on a platform or in a dedicated pump chamber.
- Electrical supply: The pond's electrical panel (with a mandatory 30 mA differential protection) must be located within 2-3 metres of the pond, in a waterproof cabinet, easily accessible.
- Drainage and overflow: Provide an overflow system that directs excess water away from the house foundation and a drainage point for partial or complete emptying when needed.
A practical rule: if you can't reach any critical point of the pond (filter, pump, skimmer) by hand in less than a minute, redesign the access. Difficult maintenance is deferred maintenance, and deferred maintenance means accumulated problems.
Mistake #10: Building without a professional plan
The most serious mistake - and the root of many others on this list - is starting construction without a detailed plan. "Let's dig and see what happens" is an approach that rarely works. A natural pond is a complex ecological system, not a simple water basin.
What a professional plan includes
- Site survey: Analysis of the soil, natural slope, water table level, and sun exposure in different seasons
- Technical project: Cross-sections with all depth zones, material specifications, utility routes
- Planting scheme: Species selected for each zone, planting densities, procurement plan
- Hydraulic calculation: Sizing of the pump, filter, pipes - with capacity reserves
- Electrical plan: Routes, cable cross-sections, protections, panel placement
- Permits: Depending on size and location, a building permit or environmental approval may be required. Check local regulations before digging.
- Detailed budget: With a 15-20% margin for unforeseen situations - which almost always arise
A professional plan costs between 500 and 2,000 EUR, depending on the project's complexity. This investment pays for itself many times over by avoiding costly mistakes, wasted materials, and subsequent rebuilds.
"From over 150 completed projects, we've learned one fundamental lesson: every euro invested in planning saves ten euros in execution and a hundred in repairs. The most successful ponds we've built were those where we spent the most time at the design table, not on site. A well-thought-out natural pond doesn't just look spectacular - it functions almost autonomously, with minimal intervention from the owner."
- Iazuri Naturale Team
Conclusion: invest in knowledge before investing in materials
Each of these 10 mistakes can be avoided through information, planning, and patience. A natural pond built correctly from the start is an investment that grows in value with each passing year - the ecosystem matures, plants develop, wildlife diversifies, and maintenance decreases progressively.
If you're at the beginning of your journey and want to avoid these pitfalls, the Iazuri Naturale team can help with consultation, design, and complete construction. Every project is unique, and standardised solutions rarely work in the world of natural ponds - but the principles presented in this guide are universal.
Don't rush. Read, ask questions, plan. And when you're ready to begin, make sure you have someone by your side who has done this before - and who has learned from their own mistakes, so you don't have to repeat them yourself.